一言でまとめると:OpenCode は、また別のクローズドなAIプログラミングツールではありません。オープンソースで拡張可能、モデルに依存しない「AIプログラミングOS」です。ターミナル上で、好きなモデルを使って、好きなコードを書くことができます。
OpenCode が2026年に最も学ぶ価値のあるCLIツールである理由
AIプログラミングツールの世界では、Claude Code や Gemini CLI がかつてはベンチマークとされていましたが、致命的な欠点がありました:ベンダーロックイン(Vendor Lock-in) です。特定のAPI、特定の価格モデル、特定のエコシステムに縛られます。Anthropic や Google がルールを変更すれば、ワークフロー全体が機能しなくなる可能性があります。
OpenCode はこの問題を解決します。オープンソースで、モジュール式で、モデルに依存しないターミナルAIプログラミングフレームワークであり、その中核となる哲学は:
- モデルの自由:75以上のLLMプロバイダーに対応(Models.dev経由)。Claude、GPT、Gemini、Qwen、DeepSeek、さらにローカル実行の Ollama、LM Studio、llama.cpp モデルもサポート。
- プライバシー最優先:すべてのコードとコンテキストデータはあなたのマシン上で処理され、サードパーティのサーバーにアップロードされることはありません。
- ワークフロー統合:Git、Docker、Shell、CI/CDツールチェーンとシームレスに統合。孤立した「チャットウィンドウ」ではなく、あなたの開発プロセスの一部として機能します。
- コミュニティ駆動:165k以上のGitHub Stars、900人以上のコントリビューター、月間750万人の開発者が利用。継続的なアップデート、豊富なプラグイン、強力なコミュニティサポートを意味します。
📊 実測効果(2026年第2四半期の開発者ベンチマークテストに基づく): - コード量が42%削減:AIが生成するコードがより正確で、冗長性が減少。 - Token消費が31%削減:インテリジェントなプロンプト圧縮とコンテキスト管理技術。 - 開発時間が28%短縮:マルチセッション並列処理、LSP自動読み込み、ワンクリックでのデバッグリンク共有。
クイックスタート:3ステップでインストールと設定
ステップ1:OpenCodeのインストール
OpenCode は複数のインストール方法を提供しています。npm(最も安定)または curl(最も簡単)を推奨します:
# 方法1:npmを使用(推奨)
npm install -g opencode-ai

# 方法2:curlを使用(ワンクリックインストール)
curl -fsSL https://opencode.ai/install | bash

# 方法3:Homebrewを使用(macOS)
brew tap opencode-ai/tap && brew install opencode-ai
ステップ2:好みのモデルを設定
OpenCode はデフォルトで無料の claude-3-haiku を使用しますが、簡単に他のモデルに切り替えられます:
# ローカルのOllamaで実行中の Qwen2.5-Coder に切り替え
opencode config set model ollama/qwen2.5-coder

# OpenAI API Key を設定
opencode config set openai_api_key sk-xxxxxxxxxxxxxxxxxxxxxxxxxxxxxxxxxxxxxxxx
opencode config set model gpt-4o

# Anthropic API Key を設定
opencode config set anthropic_api_key sk-ant-xxxxxxxxxxxxxxxxxxxxxxxxxxxxxxxxxxxxxxxx
opencode config set model claude-3-sonnet
ステップ3:起動してコーディング開始
プロジェクトディレクトリに移動して、実行:
# OpenCode 端末インターフェースを起動
cd /path/to/your/project
opencode

# または、AIに直接コマンドを実行させる
opencode "このPythonスクリプトを async/await を使うようにリファクタリングして"
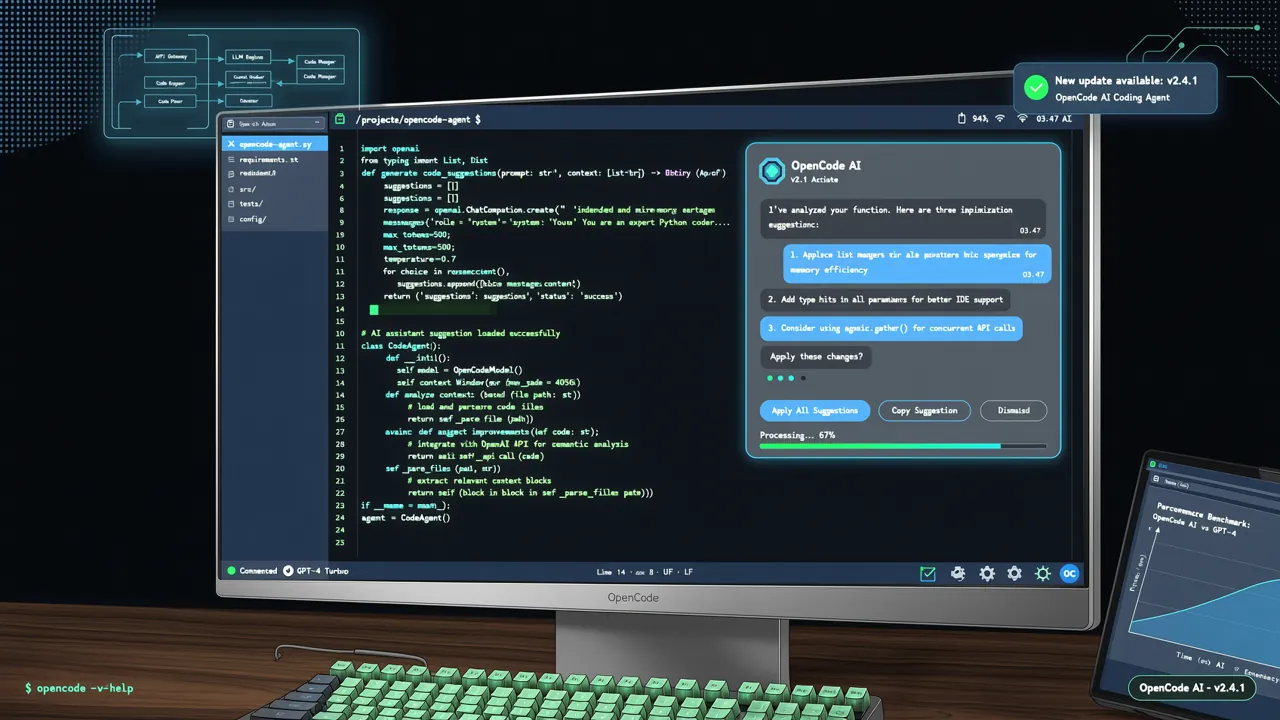
モダンな端末インターフェースが表示されます。左側にファイルツリー、右側にAI対話ウィンドウ、下部にコマンドラインがあります。これがあなたの新しいプログラミング環境です。
コア機能の詳細
1. マルチセッション並列処理(Multi-session)
異なるプロジェクトを行き来する必要はもうありません。複数のプロジェクトに対して同時に独立したOpenCodeセッションを起動できます:
# プロジェクトAでセッションを開始
opencode --session project-a

# プロジェクトBでセッションを開始
opencode --session project-b

# すべてのアクティブなセッションを一覧表示
opencode sessions list
各セッションは独立したコンテキスト、履歴、モデル設定を持ち、互いに干渉しません。
2. LSP自動読み込み(LSP Enabled)
OpenCode はプロジェクトの言語を自動検出し、対応する Language Server Protocol(LSP)を読み込みます:
- Python プロジェクトは自動的に
pyrightまたはruff-lspを読み込み - TypeScript プロジェクトは自動的に
typescript-language-serverを読み込み - Rust プロジェクトは自動的に
rust-analyzerを読み込み
AIはもはや「ブラックボックス」ではありません。型情報、関数シグネチャ、エラー通知をリアルタイムに取得でき、生成されるコードの品質は通常のチャットモデルをはるかに上回ります。
3. ワンクリック共有デバッグリンク(Share Links)
問題が発生した場合、スクリーンショットを撮ったりコピー&ペーストしたりする必要はありません。セッション内で以下のように入力するだけです:
/share
OpenCode は一意の暗号化されたURLリンクを生成します。このリンクを同僚や指導者に送信すると、相手は現在の完全なセッション状態(コード、会話、エラー情報)を表示できます。いわばリモートでの「画面共有」ですが、より安全で効率的です。
応用テクニック:生産性を向上させる
Agent Skills(エージェントスキル)の使用
OpenCode コミュニティは膨大な awesome-claude-skills リポジトリを維持しています。1000以上の検証済み「スキル」が含まれており、ワンクリックでインストールできます:
# 「リファクタリング」スキルをインストール
opencode skills install refactor

# 「単体テスト生成」スキルをインストール
opencode skills install test-generator

# 「セキュリティ監査」スキルをインストール
opencode skills install security-audit
これらのスキルは、定義済みで最適化されたプロンプト+ツールチェーンであり、自分で指示を書くよりも信頼性が高く、効率的です。
GitHub Copilot との統合
既に GitHub Copilot ユーザーであれば、OpenCode はあなたのアカウントを直接再利用できます:
opencode login github
ログイン後、OpenCode 内で Copilot の全機能を使用できるようになり、同時に OpenCode のオープンソースの利点とより強力な端末統合を享受できます。
まとめ:今すぐOpenCodeを使い始めるべき理由
| 機能 | Claude Code | Gemini CLI | OpenCode |
|---|---|---|---|
| オープンソース | ❌ クローズド | ❌ クローズド | ✅ MITライセンス |
| モデルの自由度 | ❌ Claudeのみ | ❌ Geminiのみ | ✅ 75+モデル |
| ローカル実行 | ❌ クラウド | ❌ クラウド | ✅ 完全対応 |
| プライバシー保証 | ⚠️ データアップロード | ⚠️ データアップロード | ✅ 100%ローカル |
| コミュニティエコシステム | ❌ クローズド | ❌ クローズド | ✅ 165k+ Stars |
OpenCode は単なるツールではなく、新しい開発パラダイムを体現しています:AIプログラミングは、オープンで、構成可能で、開発者が主導権を持つべきであるということです。2026年、OpenCode を選ぶことは、未来を選ぶことです。
次のアクション:
1. 今すぐターミナルで curl -fsSL https://opencode.ai/install | bash を実行してインストール。
2. opencode "Pythonで簡単なHTTPサーバーを作成して" を試してみる。
3. OpenCode公式ドキュメント でさらに詳しく学ぶ。
💡 ヒント:会社に厳格なコンプライアンス要件がある場合、OpenCode のエンタープライズ版は完全な監査ログ、SAMLシングルサインオン、プライベートモデルデプロイメントをサポートしています。詳細は OpenCode Enterprise をご覧ください。