Explore GIMP - A Powerful Free Image Processing Tool
GIMP (GNU Image Manipulation Program) is a free and open-source image processing software that is powerful and can meet the needs of simple image modification to complex artistic creation. Whether you are a photography enthusiast, designer, or just need to process some images, GIMP is a good choice.
1. Brief Introduction
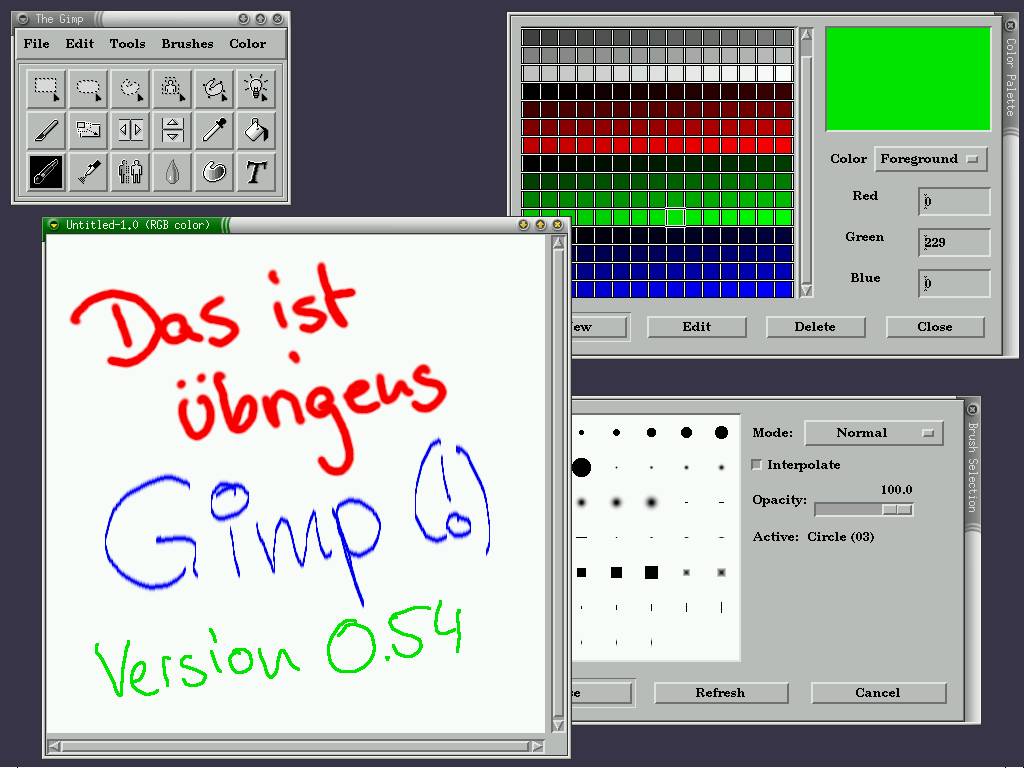
- Development History: GIMP was developed in 1995 by students Peter Mattis and Spencer Kimball at the University of California, Berkeley. The initial goal was to create an intuitive graphical interface for various image editing operations. In 1997, GIMP officially became part of the GNU project. After years of development, GIMP has become one of the most popular open-source image editors.

- Development Team: GIMP is maintained and developed by an active development team (GIMP Team). Additionally, many community contributors participate in advancing GIMP.
- Main Features: GIMP is primarily used for photo editing, image composition, graphic design, digital painting, and batch image processing. It provides a wide range of tools and features to meet various image processing needs.
- GIMP supports multiple operating systems, including GNU/Linux, macOS, and Windows.
- GIMP follows the GNU General Public License (GPL) open-source protocol, allowing users to download, use, and modify the software for free.
- The latest version of GIMP is 2.10.38 (as of November 2024), and it is regularly updated to provide feature enhancements and bug fixes.
2. Feature Overview and Interface
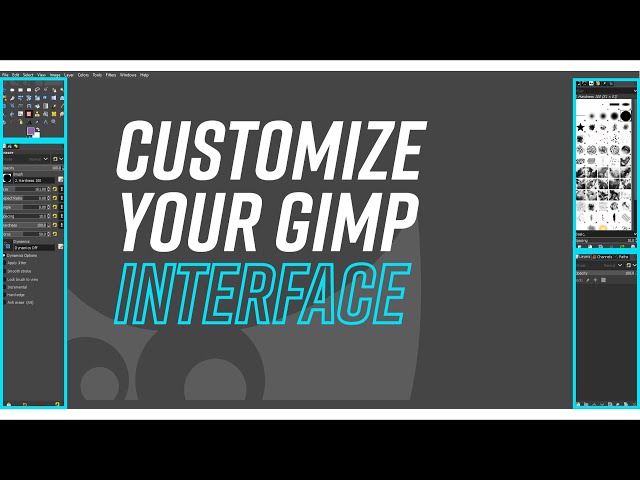
 * Customizable Interface: GIMP allows users to customize views and operations, including changing colors, control spacing, icon sizes, and creating custom toolsets. Users can modularize the interface into dockable panels and organize them through tabs.
* Different windows (such as toolbox, layers window, etc.) can be docked as tabs or kept as independent windows by dragging.
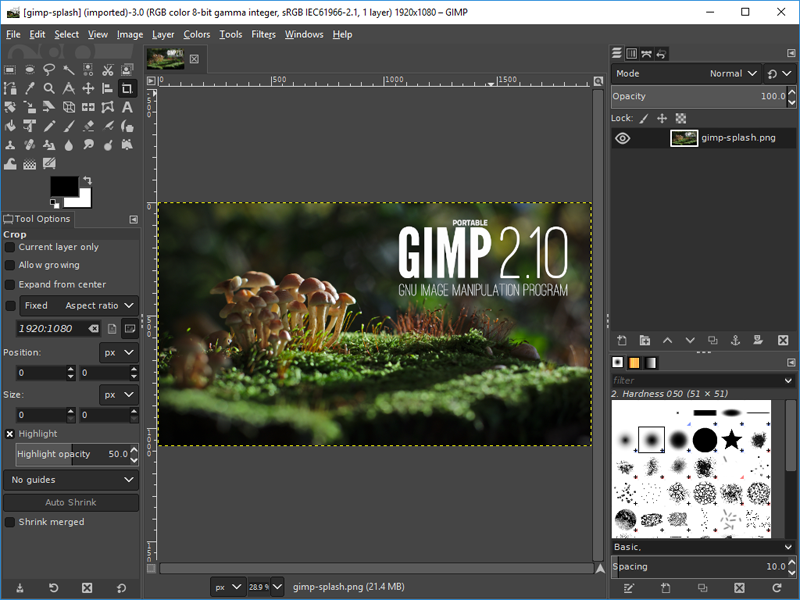
* Main Interface Components:
* Main Toolbar: Located on the left side of the interface, it contains various tools such as selection tools, brush tools, fill tools, etc.
* Layers Window: Usually located on the right side, it displays all layers of the currently opened image. Layers are an important component for complex image editing in GIMP, where you can add, delete, hide, or edit layers.
* Properties Bar: Located at the top of the interface, it displays the relevant settings for the currently selected tool, allowing you to adjust parameters such as brush size, opacity, etc.
* Main Functions:
* Photo Enhancement: GIMP provides various tools for fixing perspective distortion, eliminating lens barrel distortion and vignetting, and adjusting color channels.
* Digital Retouching: GIMP is suitable for advanced photo retouching techniques, such as using the Clone Tool to remove unwanted details and the Healing Tool for detail repair.
* Painting Tools: GIMP offers a rich set of painting tools for creating illustrations and digital paintings.
* Hardware Support: GIMP supports various input devices, such as pressure-sensitive and tilt-sensitive graphics tablets, USB, or MIDI controllers.
* File Format Support: GIMP supports various common image formats, including JPEG, GIF, PNG, and TIFF, and also supports special formats like Windows icon files. It can also extend file format support through plugins.
* Advanced Color Management: GIMP supports ICC profiles and high-precision color calibration, ensuring consistency between digital output and print output.
* Batch Processing: GIMP supports batch image processing through built-in scripts or plugins, such as format conversion and resizing.
* Support for Transparent Virtual File Systems, allowing files to be loaded and saved via protocols like FTP, HTTP, SMB, and SFTP/SSH.
3. Image Processing Guide
GIMP provides various image processing functions; here are some basic operations:
- Resizing Images:
- Select "Image" > "Scale Image".
- In the pop-up dialog, enter the new width and height. If you want to maintain the aspect ratio, ensure the chain icon next to the width and height is locked.
- You can choose an interpolation method, where "Sinc (Lanczos3)" is typically used to preserve the best image quality.
- After scaling, use "File" > "Export" to save the modified image.
- Adjusting JPEG File Size:
- Select "File" > "Export".
- In the pop-up dialog, adjust the JPEG compression quality. Lower quality settings will produce smaller file sizes but may lead to a decrease in image quality, and vice versa.
- You can check the option "Show preview in image window" to see real-time changes in image quality and file size while adjusting.
- Cropping Images:
- Select the "Crop Tool" (icon is a blade).
- Click and drag the mouse on the image to draw a cropping box.
- You can adjust the cropping area by dragging the edges or corners of the cropping box.
- After confirming the cropping area, double-click inside the cropping box or press the "Enter" key to complete the crop.
- You can also use the "Rectangle Select Tool" to select an area first, then go to "Image" > "Crop to Selection" to crop.
- Rotating and Flipping Images:
- Select "Image" > "Transform" menu.
- The "Flip" operation allows you to choose to flip the image horizontally or vertically.
- The "Rotate" operation allows you to rotate the image 90 degrees clockwise or counterclockwise, or 180 degrees.
- If you need to rotate at any angle, you will need to use the layer transformation feature, not just the image transformation.
- Other Image Processing
- GIMP provides various tools for adjusting colors, allowing you to improve the color performance of images. For example, by selecting "Colors" > "Brightness-Contrast" to adjust the brightness and contrast of the image.
- GIMP also offers a rich set of filter effects to enhance the expressiveness of images. You can browse available filter effects in the "Filters" menu and set them as needed.
4. Tips for Use
- Customizing Interface Layout: Use the "Window" menu to adjust the workspace layout and save commonly used tool arrangements.
- Using Shortcuts: Familiarizing yourself with common shortcuts (like
Ctrl+Zfor undo,Ctrl+Shift+Efor export) can significantly improve work efficiency. - Layer Management: Make good use of layer groups and mask functions to organize complex designs. Layers allow users to edit different elements of an image separately, making complex modifications easier, and you can adjust opacity and merge layers.
- Automating Batch Tasks: Use Python scripts to implement batch export functions to improve efficiency.
- Make Good Use of Plugins and Scripts: GIMP supports plugins and scripts, allowing you to add features based on personal needs, such as color management, filter effects, etc.
5. Frequently Asked Questions
- What file formats can GIMP open? GIMP supports various file formats, including JPEG, PNG, GIF, TIFF, and PSD, etc.
- How to recover deleted layers? You can select "Undo" in the "Layer" menu to recover.
- How to improve GIMP's performance? Try closing unnecessary layers and windows; optimizing computer performance can also enhance GIMP's speed.
- Does GIMP support plugins? Yes, GIMP supports various plugins, and users can download and install them as needed.
- What is the difference between GIMP and Photoshop? GIMP is open-source and free, while Photoshop is a paid software. Functionally, GIMP and Photoshop are similar, but there may be differences in certain professional features.
- How to customize GIMP's interface? You can customize the interface through "Edit" > "Preferences", including toolbars, window layouts, etc.
- Why does my image appear blurry? It may be due to improper resolution settings; try adjusting the resolution in "Scale Image".
- How to select a specific color area? Use the "Magic Wand" tool in the "Select Tool" to quickly select areas of similar colors.
- How to perform batch image processing? GIMP supports batch processing using scripts, allowing users to create custom scripts for automation.
Summary
GIMP is a powerful and free image processing software that can be used by both professionals and amateurs to complete various image processing tasks. I hope this blog helps you better understand and use GIMP.
