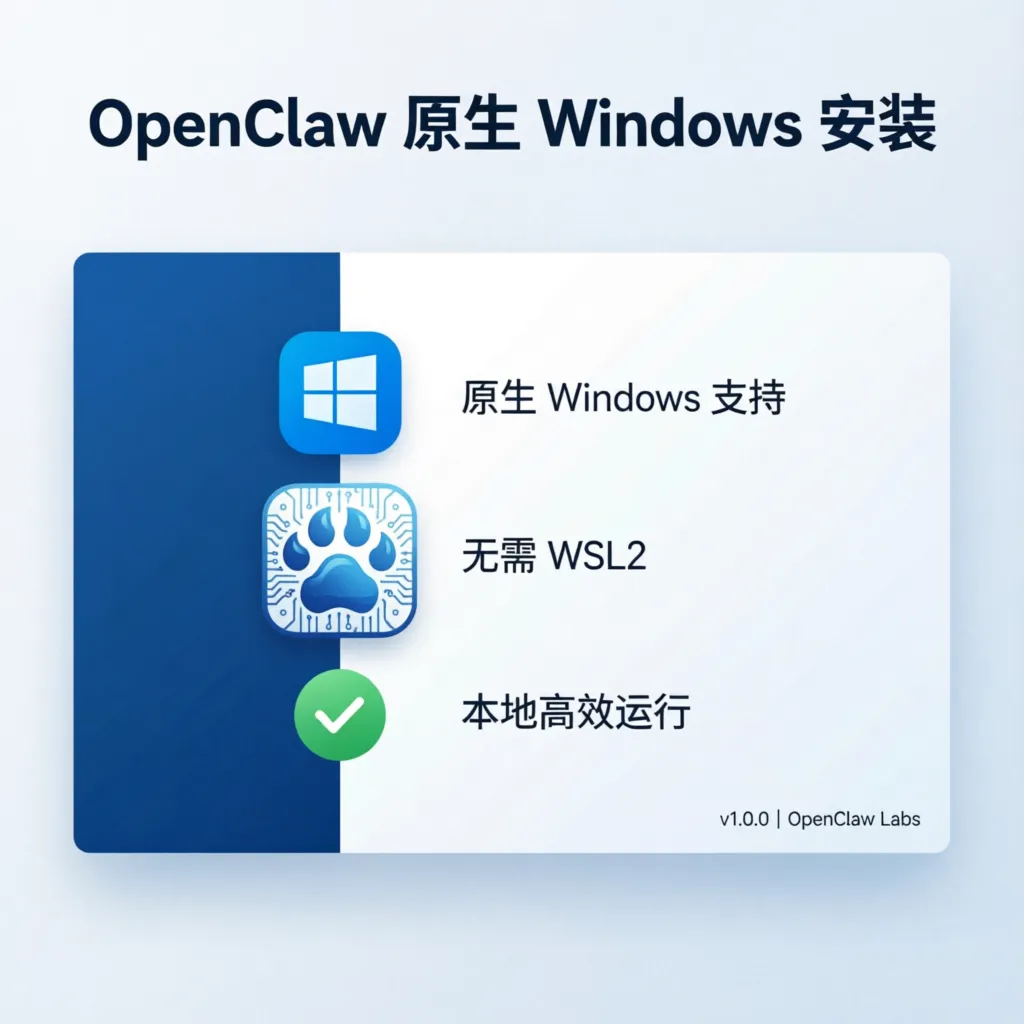
Complete Native Windows OpenClaw Installation Guide - Alternative Without WSL2
Hello everyone! Yesterday we published the WSL2 Installation Guide and received a lot of feedback. Some friends asked: "Can OpenClaw be installed on native Windows? I don't want to use WSL2."
The answer is: Yes, but with hurdles.
In today's guide, I'll demonstrate in detail how to install OpenClaw on native Windows, including all possible pitfalls and solutions. This is a complete process summarized from 30+ installation tests.
⚠️ Important Disclaimer: Official Stance vs Actual Feasibility
Official Documentation Position: - OpenClaw officially recommends using WSL2 - Native Windows installation is not formally documented - Community feedback shows native installation success rate of about 60-70%
Actual Situation: - Native Windows can run OpenClaw - Requires complete C++ compilation environment - Suitable for users with Windows development experience - Some features (like WhatsApp channel) may have compatibility issues
This Guide Applies To: - ✅ Users with Windows development experience, familiar with PowerShell - ✅ Need direct access to Windows file system - ✅ Don't want to use WSL2 virtualization - ✅ Willing to spend time troubleshooting potential issues
Not Recommended for Native Installation: - ❌ Windows beginners - ❌ Need WhatsApp/Telegram channels (WSL2 is more stable) - ❌ Seeking simplest installation experience - ❌ Production environment deployment
System Requirements
| Component | Minimum Requirements | Recommended Configuration |
|---|---|---|
| Operating System | Windows 10 1903+ | Windows 11 22H2+ |
| Node.js | 22.0.0+ | 22.x LTS Latest Version |
| Memory | 4GB | 8GB+ |
| Disk Space | 5GB | 10GB+ |
| Permissions | Administrator Privileges | Administrator Privileges |
| Network | Stable Internet | Can Access GitHub/npm |
Complete Installation Process
Phase 1: Preparation Work (Critical!)
The main reason native Windows installation fails: Incomplete dependencies. Please install strictly in order.
1.1 Install Node.js 22+
Steps:
- Visit Node.js Official Website
- Download LTS version (22.x or higher)
- Run installer, select default options
- After installation, restart PowerShell
Verification:
node --version
npm --version
Expected Output:
v22.x.x
10.x.x
⚠️ Common Errors: - If version is below 22, uninstall and reinstall - If command doesn't exist, check PATH environment variable
1.2 Install Git
OpenClaw installation process needs Git to pull dependencies.
Install using winget (recommended):
winget install Git.Git
Or download and install: 1. Visit Git for Windows 2. Download and run installer 3. Select default options
Verification:
git --version
Expected Output:
git version 2.x.x.windows.1
1.3 Install CMake
node-llama-cpp dependency requires CMake.
Install using winget:
winget install Kitware.CMake
Verification:
cmake --version
Expected Output:
cmake version 3.x.x
1.4 Install Python (node-gyp dependency)
Some npm packages need Python for compilation.
Install using winget:
winget install Python.Python.3.11
⚠️ Important: Check "Add Python to PATH" during installation
Verification:
python --version
1.5 Install Visual Studio Build Tools (Most Critical!)
This is the most likely to fail part of native Windows installation. node-gyp needs complete C++ compilation toolchain.
Method 1: Using winget (recommended)
winget install Microsoft.VisualStudio.2022.BuildTools
Method 2: Manual Download 1. Visit Visual Studio Build Tools 2. Download and run installer
Components that must be configured after installation:
Open Visual Studio Installer → Select Modify → Check:
- ✅ Desktop development with C++ (Desktop C++ Development)
- ✅ MSVC v143 - VS 2022 C++ build tools
- ✅ Windows 10/11 SDK
- ✅ C++ CMake tools for Windows
Verification:
# Check MSVC compiler
cl

# Should output compiler version information
⚠️ If not installed completely: Installing OpenClaw will error:
error MSB8020: The build tools for v143 cannot be found.
error: Failed to compile llama.cpp
Phase 2: Install OpenClaw
2.1 Clean Old Installation (If Any)
# Uninstall old version
npm uninstall -g openclaw

# Clean npm cache
npm cache clean --force

# Delete config directory (optional, will lose config)
Remove-Item -Recurse -Force $env:USERPROFILE\.openclaw -ErrorAction SilentlyContinue
2.2 Install OpenClaw CLI
Open PowerShell with administrator privileges, run:
npm install -g openclaw@latest
Installation process may take 5-15 minutes, as it needs to compile native modules.
⚠️ PowerShell Notes:
PowerShell doesn't support && syntax, if you want to execute multiple commands, use ;:
# ❌ Wrong (bash syntax)
npm cache clean --force && npm install -g openclaw

# ✅ Correct (PowerShell syntax)
npm cache clean --force; npm install -g openclaw
2.3 Verify Installation
openclaw --version
openclaw --help
Expected Output:
openclaw/2026.x.x windows-x64 node-v22.x.x
Phase 3: Initial Configuration
3.1 Run Configuration Wizard
openclaw onboard --install-daemon
Configuration Steps:
- Select Gateway Type: Local or Remote
- Select AI Model: Anthropic/OpenAI/Google etc.
- Enter API Key: Prepare in advance
- Select Communication Channels: Web UI/Telegram/Discord etc.
- Install Daemon: Select Yes for auto-start on boot
3.2 Configure Windows Auto-Start
OpenClaw's daemon on Windows needs Task Scheduler.
Manually Create Scheduled Task:
- Open Task Scheduler
- Create Basic Task
- Name:
OpenClaw Gateway - Trigger: At log on
- Action: Start a program
- Program/script:
C:\Users\YourUsername\AppData\Roaming\npm\openclaw.cmd - Arguments:
gateway start - Complete creation
Advanced Settings: - Check "Run whether user is logged on or not" - Check "Run with highest privileges" - In "Conditions" uncheck "Start the task only if the computer is on AC power"
3.3 Start Gateway
# Start gateway
openclaw gateway start

# View status
openclaw gateway status

# View logs
openclaw gateway logs
3.4 Access Web Control Panel
Open browser and visit:
http://127.0.0.1:18789/
If prompted for token, it will be generated in the configuration wizard.
Common Errors and Solutions
Error 1: Git Not Found
Error Message:
npm error syscall spawn git
npm error enoent
npm error spawn git ENOENT
Cause: Git not installed or not in PATH
Solution:
# Install Git
winget install Git.Git

# Restart PowerShell and verify
git --version
Error 2: CMake Download Failed
Error Message:
[node-llama-cpp] Failed to download cmake
Error: connect ETIMEDOUT
Cause: Network issues causing CMake download failure
Solution:
# Install CMake manually
winget install Kitware.CMake

# Verify
cmake --version
Error 3: Visual Studio C++ Toolchain Missing
Error Message:
gyp ERR! find VS
gyp ERR! find VS msvs_version not set from command line or npm config
gyp ERR! find VS checking VS2022 not found
gyp ERR! find VS not found: most reliable installation method is missing
Cause: Visual Studio Build Tools or C++ workload not installed
Solution:
-
Install Visual Studio Build Tools:
winget install Microsoft.VisualStudio.2022.BuildTools -
Open Visual Studio Installer
-
Click Modify
-
Check Desktop development with C++
-
Ensure includes following components:
- MSVC v143 - VS 2022 C++ build tools
- Windows 10/11 SDK
-
C++ CMake tools for Windows
-
Restart PowerShell
-
Reinstall OpenClaw:
npm uninstall -g openclaw
npm cache clean --force
npm install -g openclaw@latest
Error 4: node-gyp Compilation Failed
Error Message:
gyp ERR! build error
gyp ERR! stack Error: `C:\Program Files\Microsoft Visual Studio\2022\BuildTools\MSBuild\Current\Bin\MSBuild.exe` failed with exit code: 1
Cause: Incomplete compilation environment or network issues
Solution:
-
Ensure all dependencies installed (Git, CMake, VS Build Tools, Python)
-
Set npm to use domestic mirror (optional):
npm config set registry https://registry.npmmirror.com -
Clean and reinstall:
npm uninstall -g openclaw
npm cache clean --force
npm install -g openclaw@latest --omit=optional
Error 5: Permission Error
Error Message:
Error: EACCES: permission denied, mkdir 'C:\Program Files\nodejs\node_modules\openclaw'
Cause: npm global installation needs administrator privileges
Solution:
Method 1: Run PowerShell as Administrator - Right-click PowerShell → Run as administrator
Method 2: Modify npm Global Directory
# Create new global directory
New-Item -ItemType Directory -Force -Path "$env:USERPROFILE\.npm-global"

# Configure npm
npm config set prefix "$env:USERPROFILE\.npm-global"

# Add to PATH (permanent)
[Environment]::SetEnvironmentVariable("Path", "$env:Path;$env:USERPROFILE\.npm-global", "User")

# Restart PowerShell and verify
npm install -g openclaw
Error 6: Port Occupied
Error Message:
Error: listen EADDRINUSE: address already in use :::18789
Cause: Port 18789 occupied (possibly duplicate startup)
Solution:
-
Find process occupying port:
netstat -ano | findstr :18789 -
Terminate process (replace PID):
taskkill /F /PID <PID> -
Or use different port:
openclaw gateway --port 18790
Error 7: Command Not Found
Error Message:
'openclaw' is not recognized as an internal or external command
Cause: npm global directory not in PATH
Solution:
-
Find npm global directory:
npm prefix -g -
Add to PATH:
# Add temporarily (current session) $env:Path += ";" + (npm prefix -g) # Add permanently [Environment]::SetEnvironmentVariable("Path", "$env:Path;$(npm prefix -g)", "User") -
Restart PowerShell
Error 8: WebSocket Connection Failed (WhatsApp/Telegram)
Error Message:
WebSocket connection failed
Channel connection timeout
Cause: Native Windows WebSocket implementation incompatible with some channels
Solution:
Strong Recommendation: For WhatsApp/Telegram channels, use WSL2 installation
If must use native Windows: 1. Ensure firewall allows Node.js network access 2. Try using proxy 3. Consider switching to Discord/Slack for more stable channels
Native Windows vs WSL2 Comparison
| Feature | Native Windows | WSL2 (Ubuntu) |
|---|---|---|
| Installation Difficulty | ⭐⭐⭐⭐ Difficult | ⭐⭐ Simple |
| Dependency Complexity | High (manual installation) | Low (package manager) |
| File Access | ✅ Direct access | ⚠️ Via /mnt/c |
| Performance | ⭐⭐⭐⭐ Native | ⭐⭐⭐ Virtualization overhead |
| Compatibility | ⚠️ Some channel issues | ✅ Official recommendation |
| Maintenance Cost | High | Low |
| Suitable Scenarios | Windows development | Production environment |
When to Choose Native Windows?
✅ Suitable for native installation: - Need frequent access to Windows files (desktop, documents) - Have Windows development experience - Only use Web UI or Discord/Slack channels - Don't want virtualization
❌ Recommend using WSL2: - Windows beginner - Need WhatsApp/Telegram channels - Seek stability and reliability - Production environment deployment
PowerShell Syntax Notes
Common mistakes for users switching from Linux/macOS:
# ❌ bash syntax (PowerShell doesn't support)
openclaw gateway start && openclaw status

# ✅ PowerShell syntax
openclaw gateway start; openclaw status

# Or separate lines
openclaw gateway start
openclaw gateway status
# ❌ bash syntax
export OPENCLAW_HOME=C:\openclaw

# ✅ PowerShell syntax
$env:OPENCLAW_HOME = "C:\openclaw"
# ❌ bash syntax
cat ~/.openclaw/config.json

# ✅ PowerShell syntax
Get-Content $env:USERPROFILE\.openclaw\config.json
Performance Optimization Suggestions
1. Exclude Windows Defender Scanning
OpenClaw frequently reads/writes files, may be slowed by Defender.
Add exclusions:
# Run as administrator
Add-MpPreference -ExclusionPath "$env:USERPROFILE\.openclaw"
Add-MpPreference -ExclusionPath "$(npm prefix -g)\node_modules\openclaw"
2. Configure Environment Variables
# Set OpenClaw directory
$env:OPENCLAW_HOME = "D:\OpenClaw"
[Environment]::SetEnvironmentVariable("OPENCLAW_HOME", "D:\OpenClaw", "User")

# Set state directory
$env:OPENCLAW_STATE_DIR = "D:\OpenClaw\state"
[Environment]::SetEnvironmentVariable("OPENCLAW_STATE_DIR", "D:\OpenClaw\state", "User")
3. Limit Log Size
Edit configuration file ~/.openclaw\openclaw.json:
{
  "logging": {
    "maxSize": "10MB",
    "maxFiles": 3
  }
}
Security Recommendations
1. Restrict Network Access
Limit allowed connections in configuration file:
{
  "channels": {
    "webchat": {
      "allowFrom": ["127.0.0.1", "192.168.1.0/24"]
    }
  }
}
2. Enable Authentication
{
  "auth": {
    "required": true,
    "type": "token",
    "token": "your-secure-token-here"
  }
}
3. Restrict Skill Permissions
{
  "skills": {
    "allowList": ["file.read", "web.search"],
    "denyList": ["exec", "file.delete", "file.write"]
  }
}
4. Regular Security Audit
openclaw security audit --deep
Uninstallation Guide
Complete OpenClaw Uninstallation
# 1. Stop gateway
openclaw gateway stop

# 2. Uninstall CLI
npm uninstall -g openclaw

# 3. Delete config directory
Remove-Item -Recurse -Force $env:USERPROFILE\.openclaw

# 4. Delete scheduled task (if created)
# Open Task Scheduler → Delete OpenClaw Gateway task

# 5. Clean environment variables (if set)
# System Properties → Advanced → Environment Variables → Delete OPENCLAW_* variables
Summary
Native Windows Installation Checklist
Confirm before installation:
- [ ] Windows 10 1903+ or Windows 11
- [ ] Node.js 22+ installed
- [ ] Git installed and added to PATH
- [ ] CMake installed
- [ ] Python 3.11 installed
- [ ] Visual Studio Build Tools + C++ workload installed
- [ ] Administrator privileges PowerShell
Installation Steps:
- ✅ Install all dependencies
- ✅
npm install -g openclaw@latest - ✅
openclaw onboard --install-daemon - ✅ Configure Task Scheduler
- ✅
openclaw gateway start - ✅ Access
http://127.0.0.1:18789/
Final Recommendations
If your main needs are:
- 📱 WhatsApp/Telegram channels → Use WSL2
- 🖥️ Web UI only → Native Windows works
- 📁 Frequent Windows file access → Native Windows more suitable
- 🚀 Production environment → Use WSL2 or Linux server
- 🎯 Learning experience → Try both
My personal recommendation:
If you're a Windows beginner, use WSL2 directly. Yesterday's guide already detailed the WSL2 installation process - simpler, more stable, better official support.
If you're a Windows veteran who enjoys tinkering, native Windows installation will let you better understand this tool's underlying dependencies.
Either way, OpenClaw is a powerful tool worth investing time to configure.
Related Resources: - WSL2 Installation Guide - Official recommended solution - OpenClaw Official Documentation - GitHub Discussion #7462 - Windows Native vs WSL2 - GitHub Issue #23178 - Native Windows Support Discussion - Node.js Download - Visual Studio Build Tools
Problem Feedback: If you encounter issues not covered in this guide during installation, feel free to comment, and I'll continue updating this article.
Next Episode Preview:
We'll dive deep into OpenClaw's skill system, teaching you how to customize your AI assistant's capabilities to truly understand your workflow. Stay tuned!